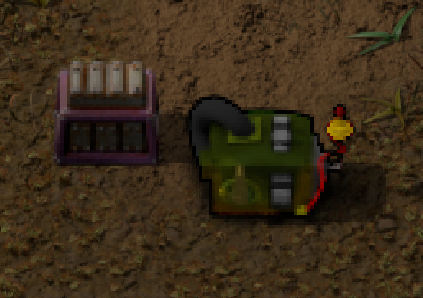
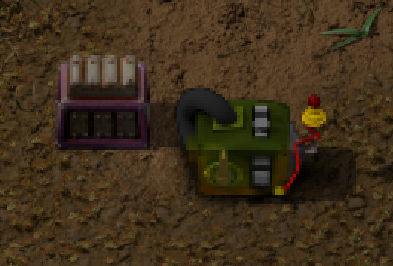
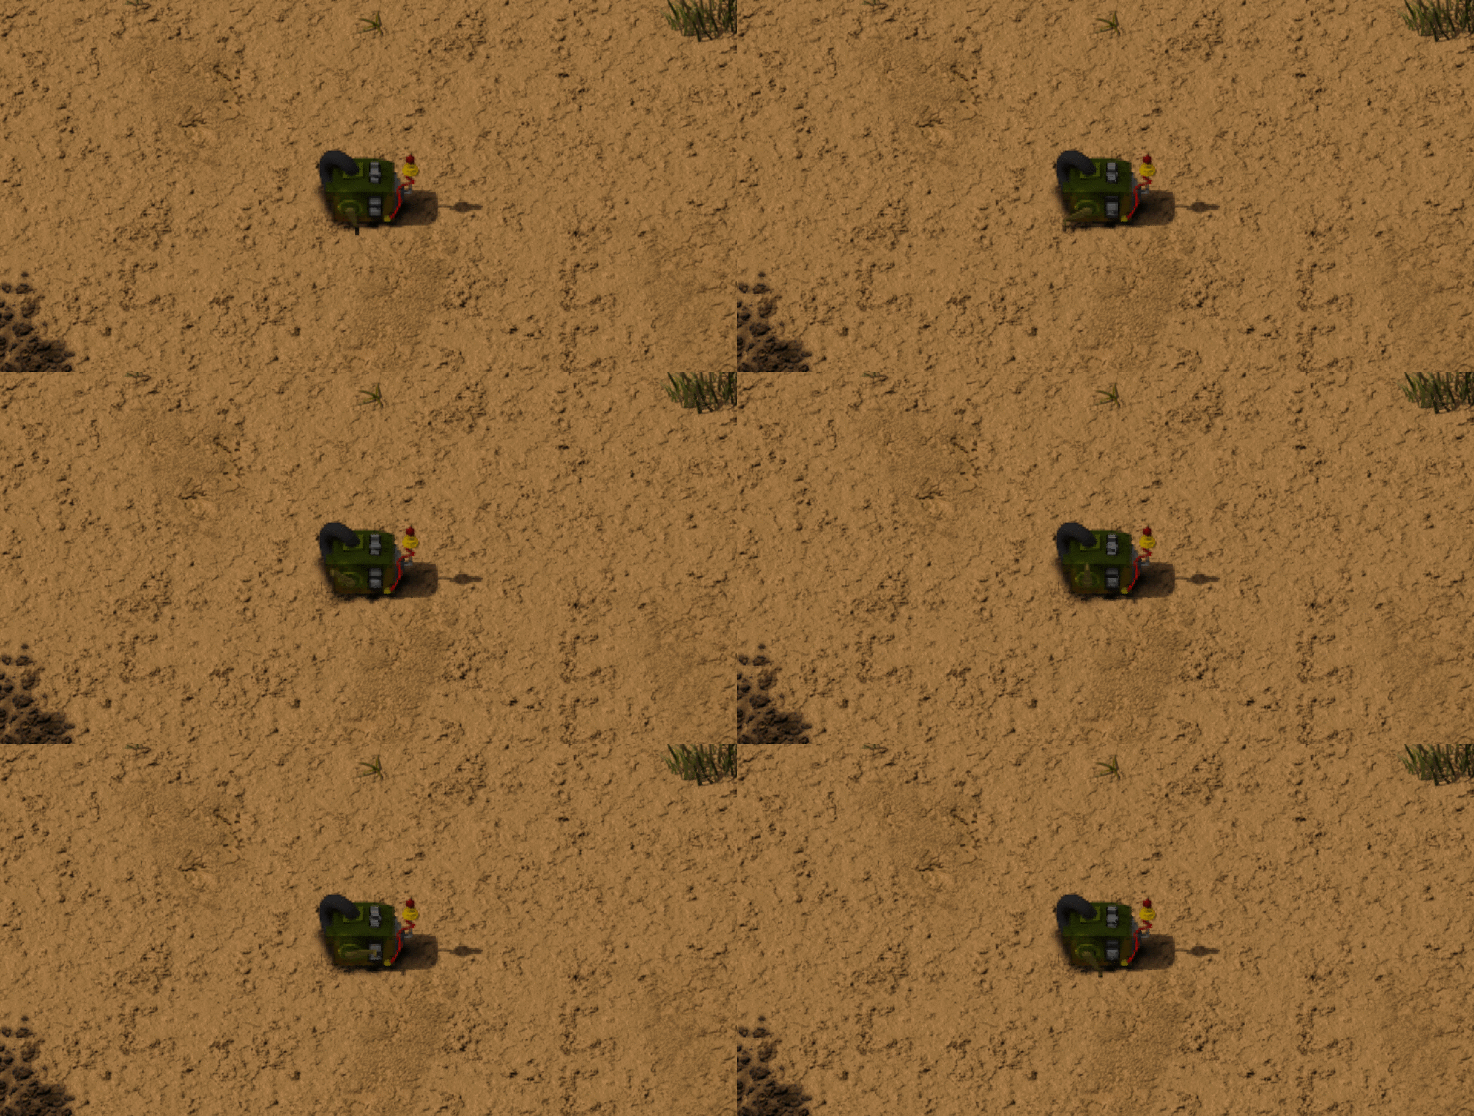
Anyway, I wanted to post a few tidbits of discoveries I made whilst writing my first mod, Hand Crank. Some of these might seem obvious to seasoned modders but definitely weren't to me - at least, not at first. This isn't a guide, and I'm not a factorio modding expert (far, far from it), but maybe some of this will help another first-timer in the future.
Some background: I'm a professional software engineer, so APIs, documentation, Lua, et al. are nothing new to me. However, the way the Factorio API is set up is a bit daunting, so I'll touch on some of that as well. Further, I'm a hobbyist graphic artist at best, and have played with Blender enough to know how to do basic things. Trial and error are key there.
Mod Structure
The mod structure was pretty simple to flesh out. While I didn't find a guide out there that truly outlined everything you needed to know, the Wiki had some good-enough guides for getting started. I think the biggest Win for the whole process was setting up a build flow early.
I created a Makefile very early on in the project to do some basic linting and validation of the Lua code (to make sure I caught mistakes early), cutting down on the number of times I had to boot up the game.
In that Makefile, I also had the packaging (zipping) step as the main target, so I always had a working mod to drop in and test instead of manually copying files around.
Lastly, I set up a developmental command for quickly installing the mod into the mods directory, which while small also cut down on the "feedback loop" time.
That was also the first commit I made in the repository itself - this goes without saying, but if you're not using revision control (git), you're doing it wrong.
Testing
Testing was actually not bad at all. All I had to do was create a savegame with the entity I was making already placed and figured out I could use the factorio command line to cut down on manual steps necessary to re-load that save game.
Code: Select all
alias fac='~/Library/Application\ Support/Steam/steamapps/common/Factorio/factorio.app/Contents/MacOS/factorio --load-game ~/Library/Application\ Support/factorio/saves/HandCrankTest.zip'
Code: Select all
killall factorio; fac
API/Documentation
API docs were a bit tricky to learn. I realized that the best way to find which entity I needed to extend (first trying an accumulator, then a solar-panel, and then finally finding the electric-energy-interface) was to browse through the base mod itself. I know this has been mentioned a few times around the guides I read but I can't stress the importance of it.
My discovery flow quickly turned into:
- Find something in the documentation about some entity property I wanted to use
- Find instances of the key in the base mod (using grep or spot)
- Look at how they applied it to an entity I was very familiar with (from playing the game)
The first one was also great for looking up constants listings and whatnot (e.g. defines.events).
Lastly, looking at how other mods went about doing what they did by unzipping them and looking at their files/images proved helpful from time to time - especially for figuring out how sprite layering works.
Modeling and Graphics
So being a programmer, I hate the idea of manual rendering steps (since they're tedious and prone to error). I'm a bit of a perfectionist, so iterating quickly and frequently on small changes to the model or rendering pipeline was important since I wanted to see the changes in-game as quickly as possible. Luckily, Blender game to the rescue here.
Blender provides a very small array of CLI options that can be used to render out an animation into individual frames. Performing the render and then using ImageMagick's convert utility, building sprite sheets all the way from 3D model -> polished and color-corrected PNG was a breeze (though definitely CPU intensive).
I found a simple Blender project on Reddit (sorry, I honestly can't find the link for it anymore) that had a bunch of Cycles rendering nodes set up for rendering out separate entity/shadow/etc images. It worked well - like, really, really well - but I also wanted to add a bit of quasi-ambient-occlusion to the sprite as a separate layer (which I named the "dark" layer). I was copying the way the solar panel layers were set up - one with the entity itself, its shadow, and then the "dark" soft shadows. After battling with the shader for what felt like hours, I finally figured out how to render the pieces separately.
However, automating the individual renders wasn't straightforward - the project made gratuitous use of render layers, but Blender doesn't expose enabling/disabling as a CLI option. I had to use a bit of Python to enable individual render layers for a multi-stage render (which meant saving the .blend file with all of them disabled, initially). You can see how I set that up in the Makefile.
The python simply enables a single render layer by its name, and the Makefile takes care of running the rendering process for each of the three layers, for each .blend file (my project only had one, but it'd be trivial to add more).
As mentioned above, I used ImageMagick convert to -append the resulting frames into a single sprite sheet.
However I had one problem that kind of bothered me for a long while (I didn't actually fix it until near the first release of the project): there were some heavy dark 'feather' artifacts around the entire sprite, as if a thick, black stroke was being applied.

It looked.. off. I used the iron chest as sort of a 'style reference' for the artwork and realized that there were crisp edges on just about all of the vanilla entities. I really wanted to imitate the vanilla graphics style and this was just not cutting it.
After some trial and error I realized it had to do with the way the alpha mask was being built up - the project render settings were set to 25% of the original size (which gave it that nice, Factorio-esque pixelated look) but was ultimately causing the problem.

I decided to try rendering at 100% the resolution (which would cause the black artifacts to be much less noticeable since the image was larger) and then scale down as a post-process using ImageMagick, and it worked out nicely. The rendering process took much longer but the result was worth it.

There is definitely room for improvement, but it reached that 95% mark for me - which was good enough for the time being.
A few clever convert commands later (namely building the icon based off of a specific frame in the animation that I liked) and lots of modeling/texturing (can you tell I'm not a professional?), and the finished sprite was ready.

Feel free to steal and adapt the blender file in the Github repo - it's set up quite nicely for making 3D-based sprites. Crash course on using it:
- F12 to render (needs at least 1 render layer enabled)
- Make sure to save with all render layers disabled
- Always model in orthographic view
I think the hardest part of this whole process was the terminology and figuring out how the Factorio engine itself structures things out. It would be nice if someone that understands Factorio modding in and out would explain how the GUI system works in depth. For example, I haven't figured out how to add the power output label in the properties pop-up (when you mouse over, or "select", a placed hand crank entity) like other generators do, and repeated Google searched failed me. I'm not entirely sure it's possible since I extended from a lower level type, but I have no idea how to go about finding that information by myself since Google wasn't showing me great results.
Further, little things like what the "nauvis" is (primary game surface) were kind of tucked away in walls-of-text guides. Some complete explanation of how the game is structured - not just how to make mods - would be really beneficial for newcomers, in my opinion.
Hope you found this interesting!


