Simple modular laser defense wall
Posted: Sat Jan 08, 2022 7:10 pm
This is my small blueprint library for effortlessly creating laser defense walls. It would be nice if you have comments or suggestions for improvement.
I put special emphasis on it being modular and flexible and still being simple. It needs only 3 different basic layouts for the whole wall including corners. You can create straight walls, rounded corners (inner and outer), and diagonal walls. All blueprints can (and need to) be rotated and mirrored to get all variations of horizontal and vertical combinations in connection with corners and diagonal walls. No rework required to patch wall parts together.
It's based on the roboport grid size of 50x50.
Blueprint book:
If the components are provided via the logistic network, the wall will build itself, so to speak.
Wall components:
straight wall - for building horizontal and vertical walls
corner (short) - the corner that will connect a horizontal with a vertical wall to form an inside corner
corner (long) - the corner that will connect a horizontal with a vertical wall to form an outside corner
diagonal - the combination of one inner and one outer corner, which magically forms a diagonal wall. You achieve the same by alternating inner and outer corners. This diagonal wall is a just pair of both corners with a nicer laser turret spacing. It's the only blueprint that cannot be mirrored without breaking the layout, so don't mirror it.
Screenshots: Additional components:
Artillery grid - for placing artillery turrets with optimal spacing. Use the roboport as anchor for correct placement. The artillery turret ammo is supplied by the logistic network via requester chest.
Radar grid - for placing radars with optimal spacing. Use the roboport as anchor for correct placement.
Corner with roboport connector - if you create inner corners, it might happen the robots will try to fly directly across enemy territory and running out of power. By separating the logistic networks, you can avoid this. This blueprint implements a connector to request the required items from one network and provide it to the other. A requester chest requests items from the source network, and an inserter moves it to a storage chest in the destination network. A constant combinator is used for configuring which items are transferred. As default, the combinator is disabled and instead the red wire is used for configuring the items on a global scope. The belt is used to fill robots into the robotport, so the system is able to bootstrap itself independently. It will also keep the robot count, so if some are destroyed, they are refilled. The desired number of robots can be configured in a separate constant combinator.
Notice that after placement there is a 1 tile space between this roboport and the neighbored roboport to the left that is provided by the blueprint you place left of this blueprint. The inserter between the chests is exactly on that space.
Roboport connector - the connector without wall parts
Wall supply connector - example how you can connect the wall to the logistic network of your base.
Note:
Logistic network: a buffer chest is placed next to every roboport to distribute material across the wall, so repairs and replacements can be done on a timely basis. The buffer chest is configured via green wire on a global scope.
This wall can be used as soon as you unlock construction robots. Logistic robots, the requester chests (for logistic network handover) and the buffer chests are not required to be unlocked - it's nice to have later, but not crucial. The same with artillery. Artillery will prevent enemy nest creep, but this is mainly for the late game with huge bases where the walls need to be fully autonomous.
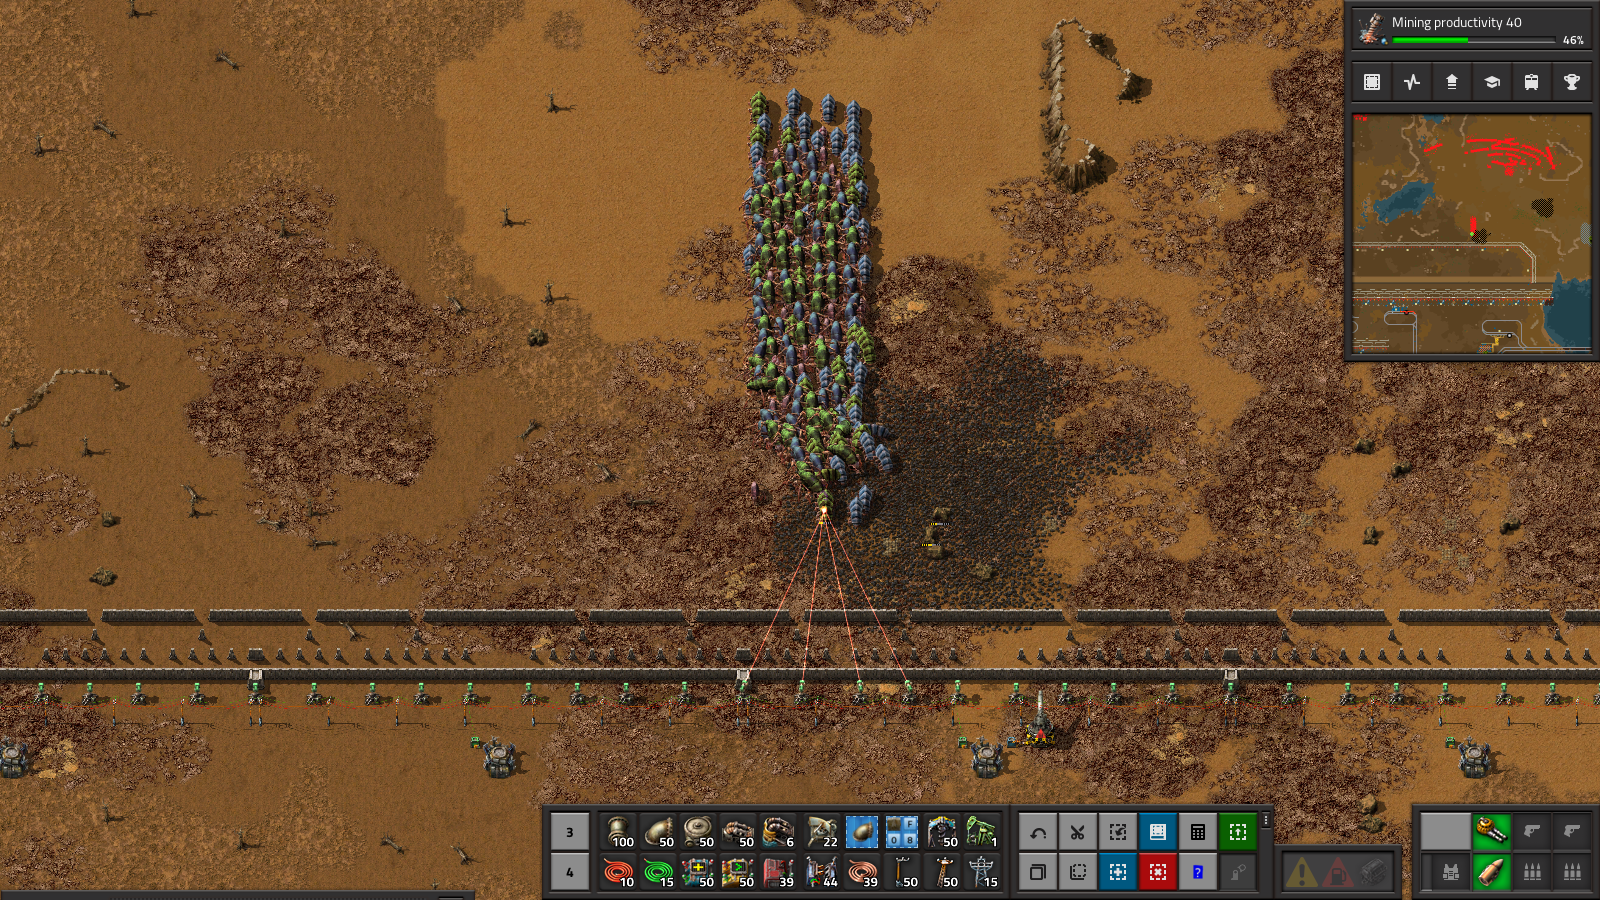
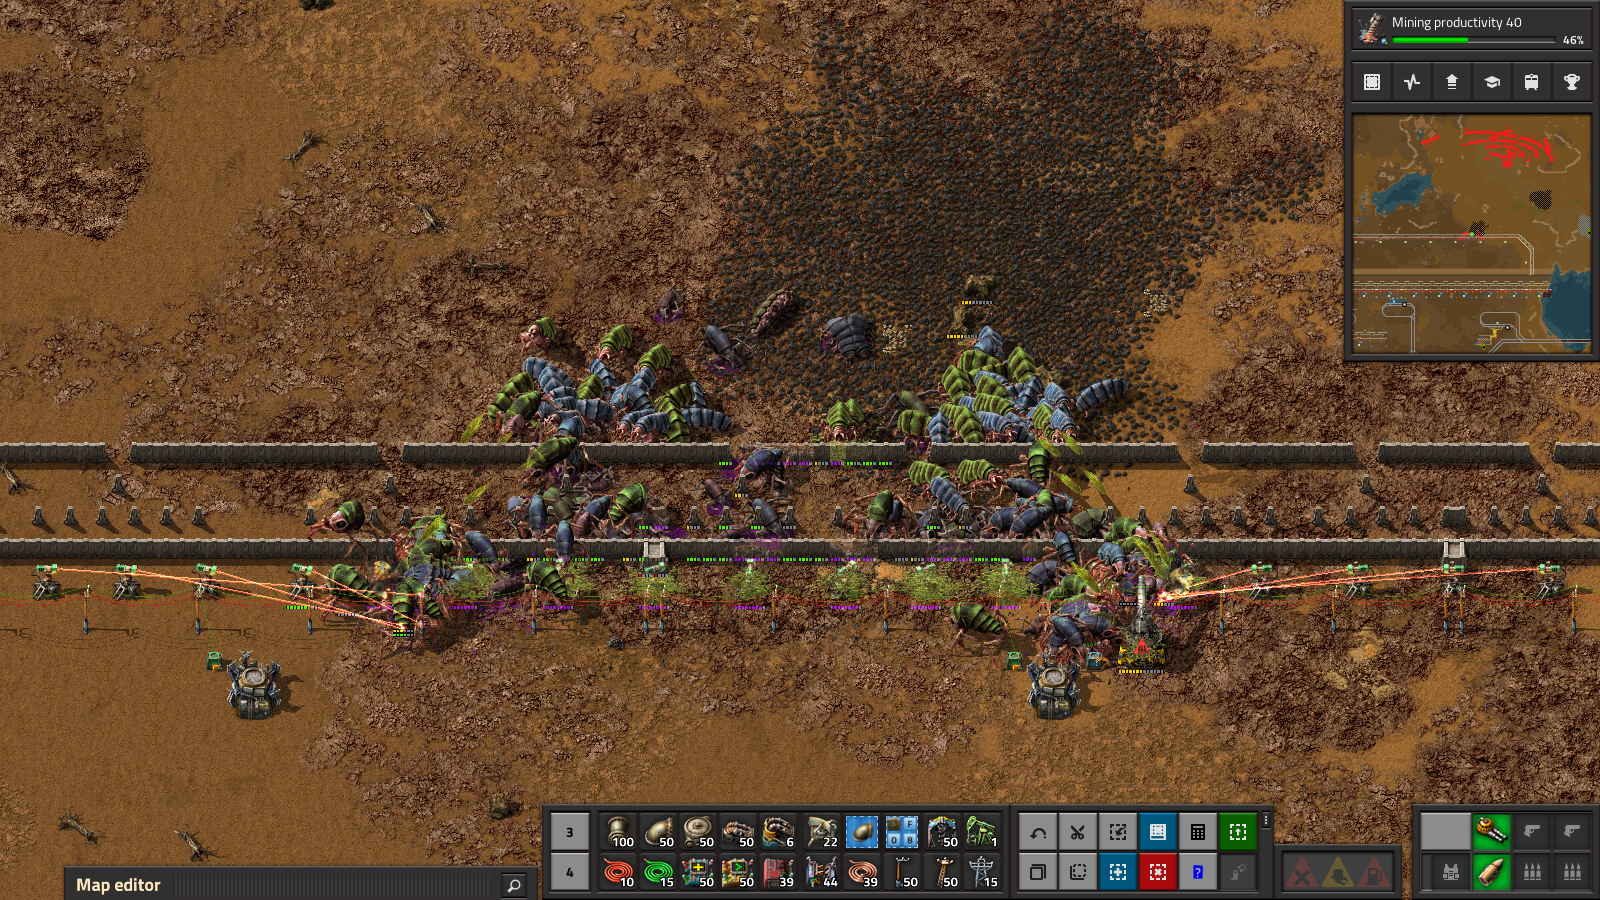
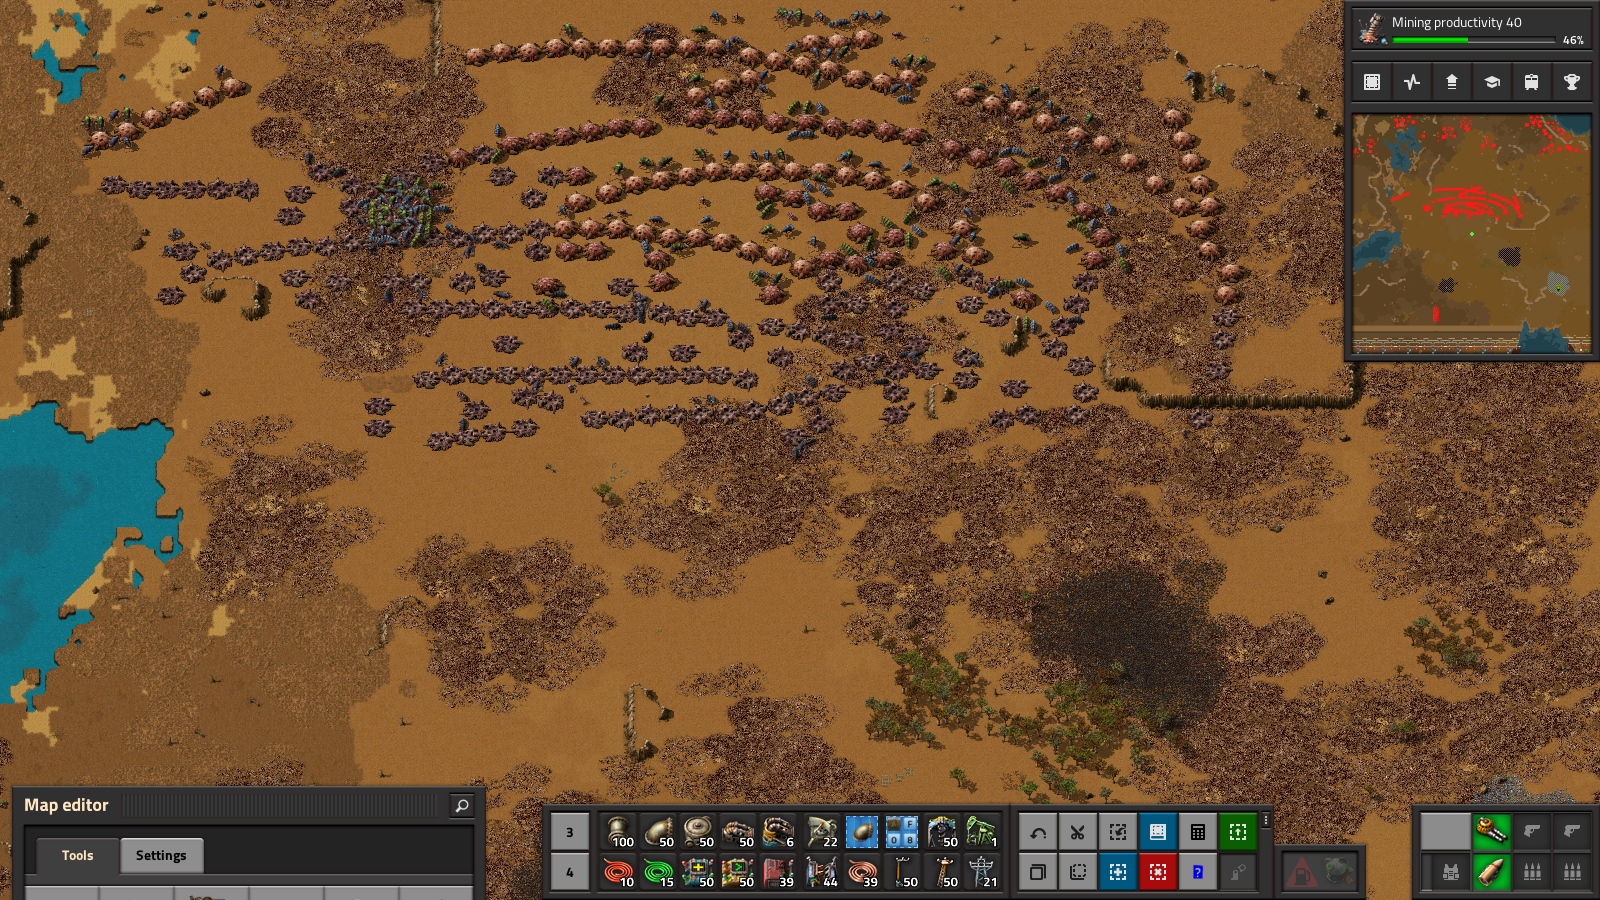
The wall strength was tested with default enemy difficulty. It is able to cope with behemoth mobs who start to appear with evolution > 0.9. However, automatic repair is required after an extended amount of operation due to the ranged spitter attack, so make sure you provide repair kits on the network for fully autonomous operation. Even if one part of the wall is overrun by (for example) 30 behemoth biters, it is kept alive and firing by the construction robots providing supplies, so it is actually invincible as long as there is electric power.
Example with all tied together (no manual editing - just put the corresponding blueprints down):


